Before you print:
If the Frosting Sheets seem very dry and brittle, place a small piece of a slightly damp paper towel inside the Ziploc bag with the Frosting Sheets.
 Important: DO NOT put the damp paper towel on the Frosting Sheet. Place it under the bottom page against the plastic backing side. Remove after a few days. Please note that you only need a small piece of the paper towel.
2) If you're in a very humid environment and you are using the Frosting Sheets, you can peel about 1 - 2” inches from the tab part of your Frosting Sheet prior to printing. Smooth the Frosting Sheet back on to the backing and print.

Important: If you are using a larger image, you should be careful if your cake flexes as it can crack the picture. You can add a second cake board under the cake to provide more stability.
When the image is ready for printing:
Remove a Frosting Sheet from the Ziploc bag. Only remove it once you are ready to print. Remember to reseal the bag removing all air to keep the sheets fresh.
Printing:
Place the sheet in the printer with the frosting side up (facing you) and the plastic tab in first, then proceed to print on it. For front loading printers, place the sheet in the bottom tray with the frosting side down and the plastic tab in first.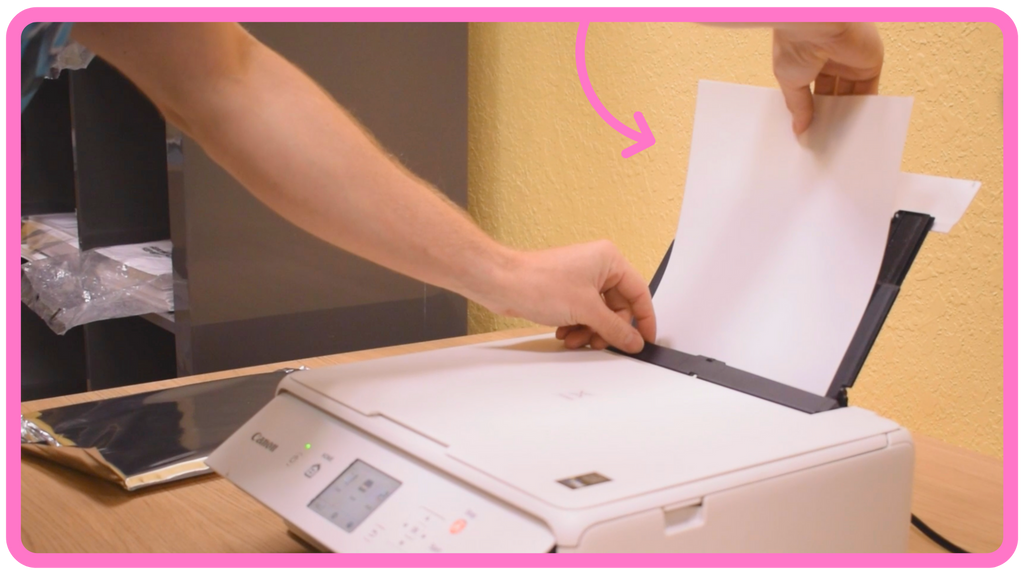 Regarding image saturation and overall vividness, people have varying printer models and different methods on how they approach this. Many have their preferred photo editing software (like Photoshop or Canva etc.) to edit saturation, contrast, brightness and other more advanced aspects of their images.
We just have 3 main recommendations when printing:
✅ Set the type/quality to matte or photo paper.
✅ Choose 8.5 by 11 inches (Letter size) if printing on 8.5" x 11" Frosting Sheets OR 11.75 by 16.50 inches (A3 size) if printing on 11.75" by 16.50" Frosting Sheets
✅ Set the print resolution to high.
After Printing:
After printing, let the print air dry for 5 to 20 minutes. If you're in a humid environment, do not leave the image out for more than about 2-3 minutes. If you are not ready to place the image on the cake, place the image in a sealed Ziploc bag until you are ready to use it.

Removal of Frosting Sheet from Backing:
The clear backing can simply be removed by peeling the image right off, similar to a sticker. Peel the frosting sheet from the bottom. If you are in a very humid environment, you may need to hold the Frosting Sheet in the freezer for 5-30 seconds (do not lay it down); begin peeling the image immediately after removing it from the freezer.

FYI: Images can be prepared in advance and stored in a Ziploc bag. Do not refrigerate.
Application of the Frosting Sheet:
Have a plain frosted cake ready. White icing works best. Hold the image on the shorter sides bending the image (not folding) in the shape of a “u”. Carefully position the image where you would like it to lay, starting from the center of the image first, smoothing the image towards the outer sides of the image.
 Next, take the plastic backing and lay it on the image. This way you can smooth out the image carefully. If the image is not flush against the cake, air bubbles may appear. You can decorate your cake with borders, you can also decorate right on the image as long as you do not have a wet icing.