


PLEASE NOTE: WE RECOMMEND USING CANON PRINTERS FOR OUR TRANSFER SHEETS. SOME EPSON PRINTER MODELS MAY NOT WORK WELL WITH THESE.
Did you ever want to add unique designs directly to your chocolate, royal icing, meringue, or isomalt creations? Well we've got news for you! You can make memorable pralines, lollipops, chocolate bars and MANY other uniquely decorated custom creations with our Miracle Transfer Sheets!
The previous version of this product, our Chocolate Transfer Sheets, was a great way to personalize all types of chocolate treats, but we noticed that many in the industry want to do more. They want to create personalized lollipops for instance and therefore they work with isomalt. Others want to create special edible artwork using royal icing. As the industry evolves we listened to our professional customers and wanted to make sure we can provide what they need. Instead of bringing a separate product for each of these use cases, we were able to come up with one improved product that can be used with white chocolate, isomalt and meringue: paper2eat Miracle Transfer Sheets.
Due to its versatility you don’t need to purchase multiple products and rather have one product that fits all three of the above mentioned. At the same time we wanted to make sure not to cut off short on product quality. Hence, we are proud that our new Miracle Transfer Sheets do not only give you more ways to astound your customers, but they also elevate product quality to a new level. Although this product may not be familiar to many, when using our Miracle Transfer Sheets you can rest assured that you're getting the same high-quality results you've been used to when using our products.
Facts a glance:
- Works best in Canon printers (Epson printers may face issues)
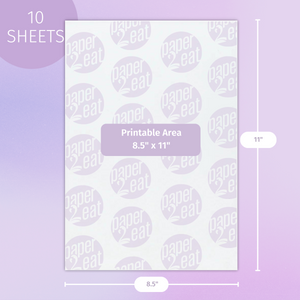
- 10 sheets per pack
- Letter size (8.5" x 11")
- 0.15 mm thickness
- Long shelf life, minimum of 18 months
- Entire sheet available for printing
- Transfer your edible print to chocolate, meringue or isomalt
- Easy to use
- FDA approved ingredients only
- Vegan, Soy-Free, Nut-Free, Gluten-Free, FDA-Approved-Ingredients, Dairy-Free, Peanut-Free